Archive | Pork RSS feed for this section

Pig of Thrones

19 Jun

There’s no better way to celebrate the season finale for Game of Thrones than by roasting a whole hog.  It’s manly.  It’s barbaric.  Most importantly, it’s really, really delicious.

My butcher shop sold me the smallest suckling pig that they had in the freezer.  At 15 lbs, I wasn’t sure if it was going to be enough meat to feed 5 people, let alone the 10-12 I was expecting for the show.

2014-06-13 13.19.54

I spent a fair amount of time on Google pulling in tips and tricks on how to cook the beast.  The starting move was about 20 hours in a brine.

BRINE

  • 15 quarts water
  • Two 26 oz Morton Salt Containers
  • 4.5 cups sugar

I soaked the pig for twenty hours, turning once.  For a container, I ended up triple bagging it in garbage bags in my giant tailgate cooler, with a couple of bags of ice on top to keep things from spoiling.

On Sunday afternoon, it was time to do the fun stuff.  After patting the piggy dry with paper towels, I decided to stuff his interior with onions and garlic.  This is where creativity comes into play (you can use herbs, dry rub the interior, etc.), though I chose simplicity for my first time around.


2014-06-15 14.09.272014-06-15 14.12.18


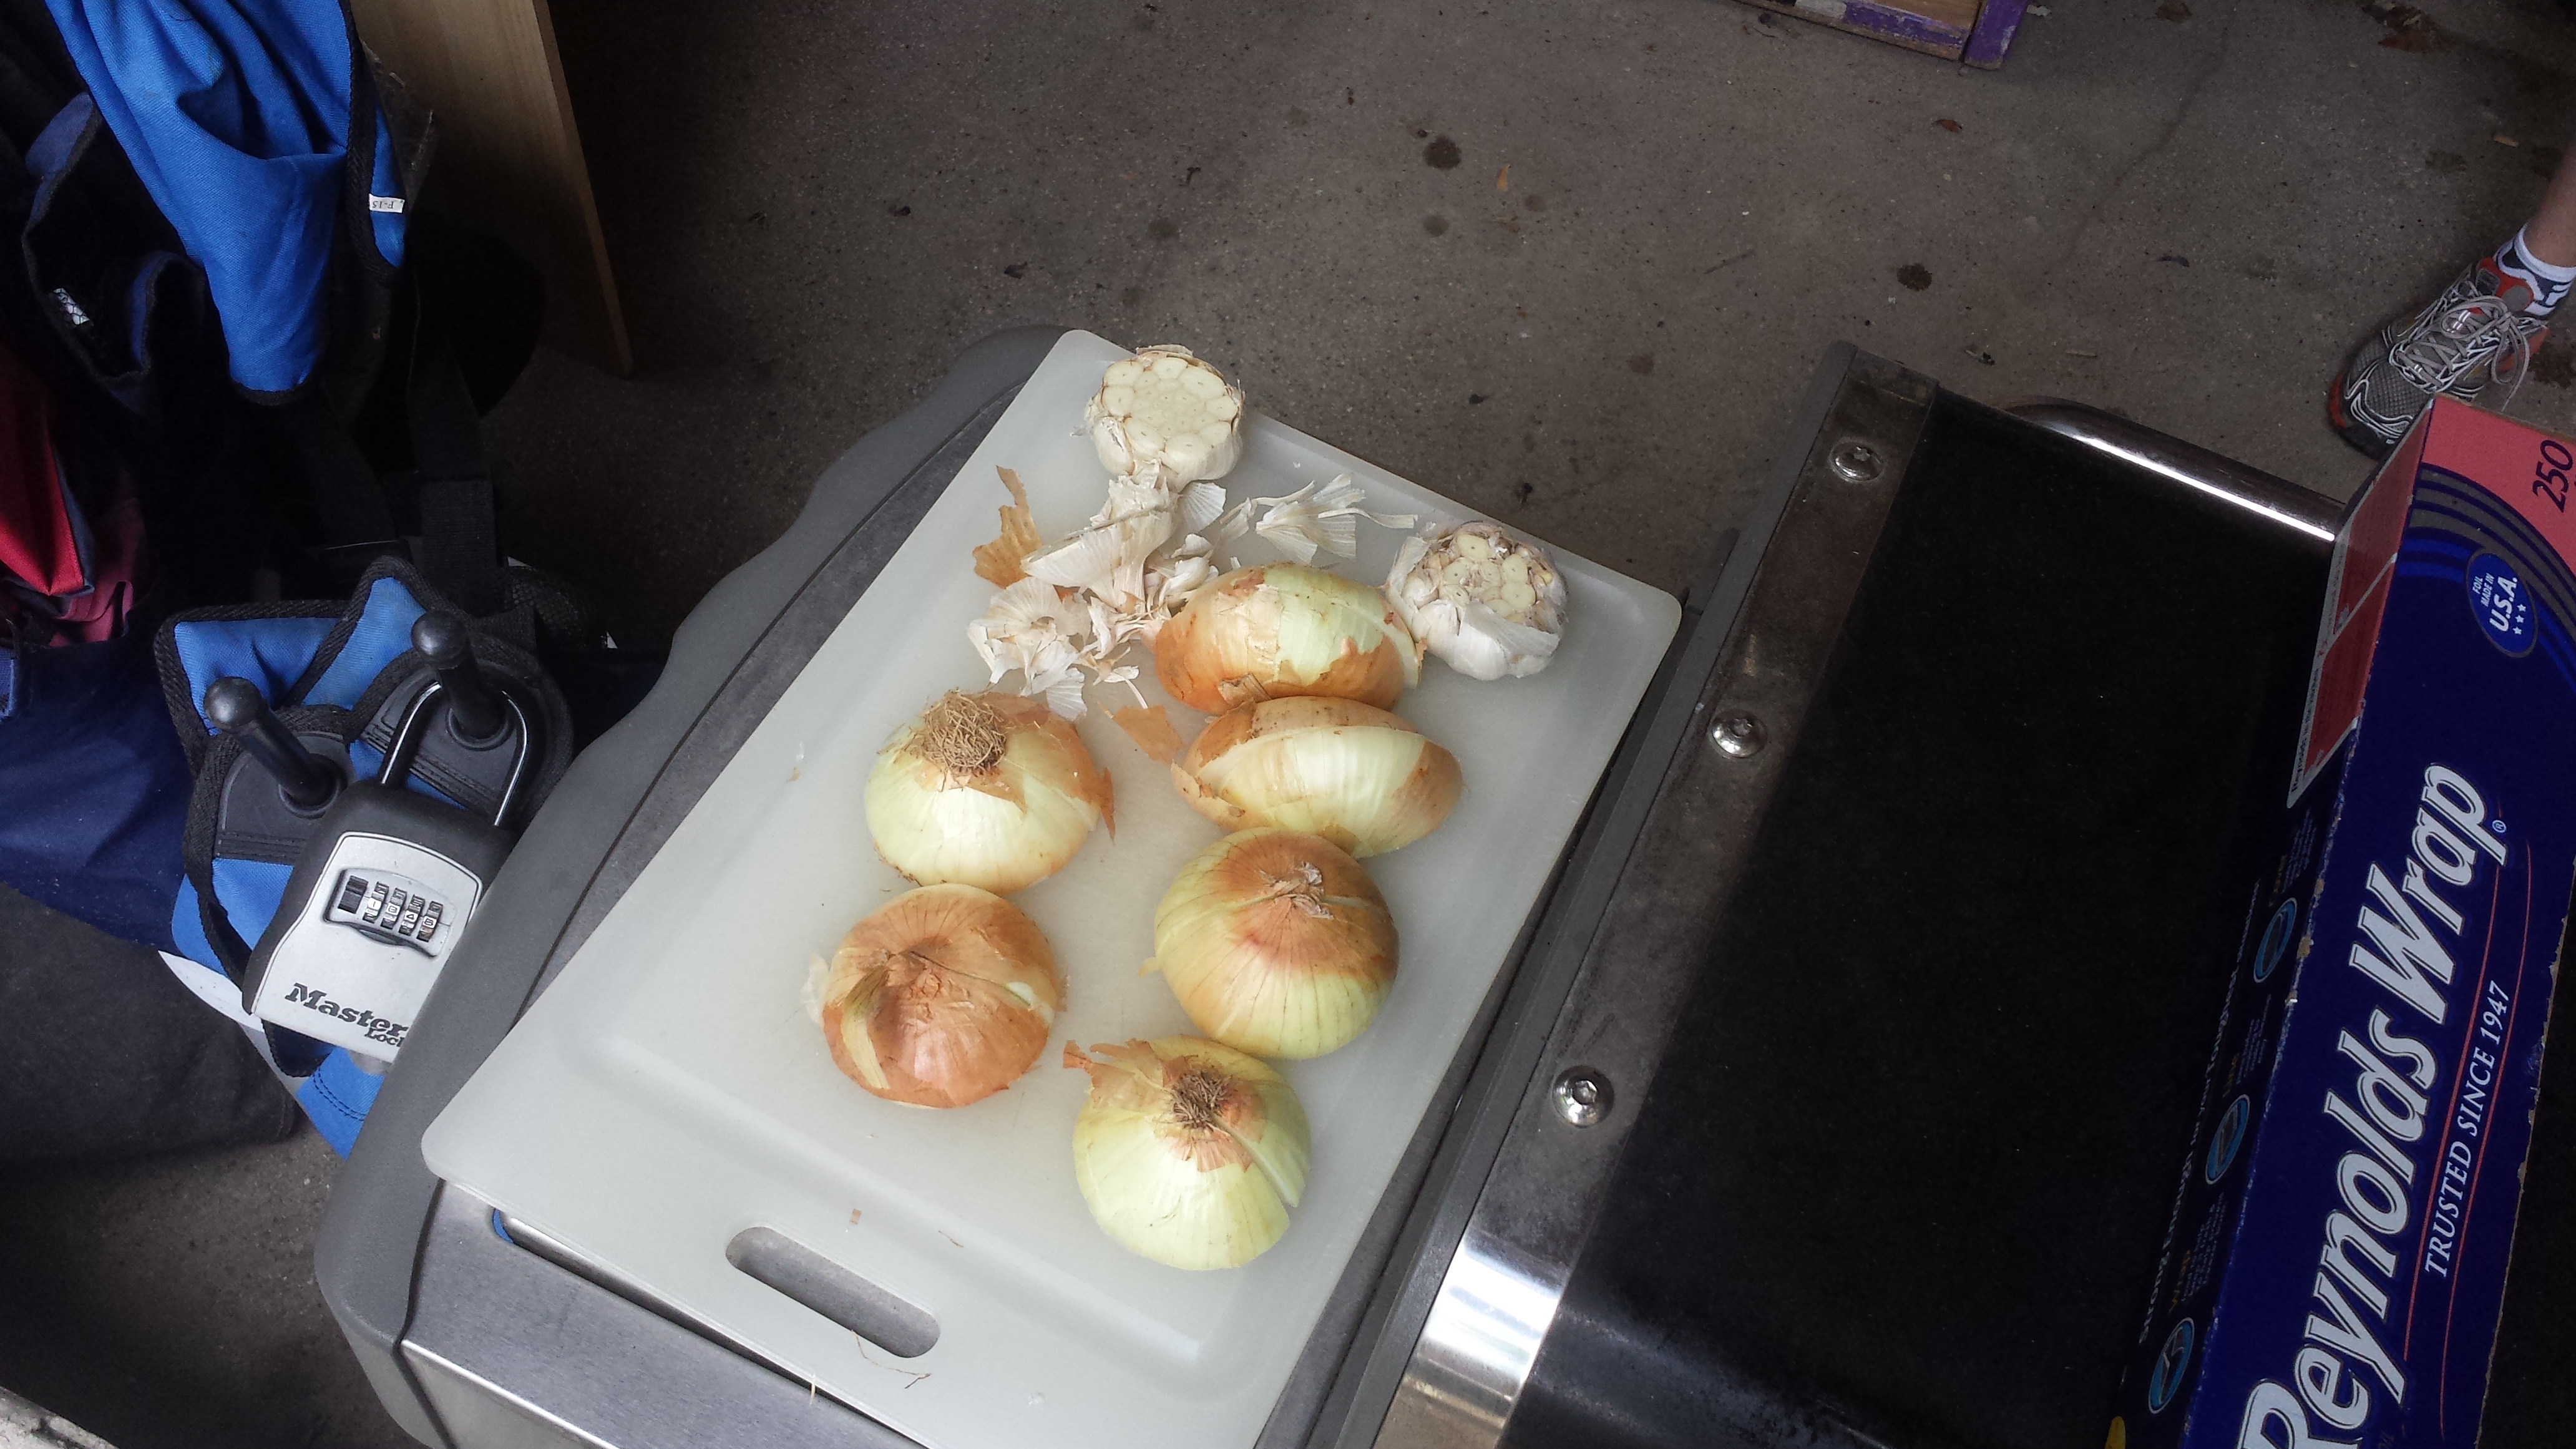
Some people will throw chickens, stuffing, sausage, and all sorts of other goodies into the chest cavity.  Being a rookie (without a needle and thread to sew it closed), I didn’t feel much like gambling and limited myself to simple aromatics that I had on hand.

2014-06-15 14.06.18IMG_4063


Into the oven at 250 my pretty.  I felt very similar to the witch in Hansel and Gretel, tossing a small child into my oven for dinner.  Maybe she was actually on to something…a protein heavy diet and a house of candy?  We’ll touch back on that later.

After about 4.5 hours, the meat was reading 165 in the back leg.  I cranked the oven up to 475 and gave him a nice little spong bath with oil every 20 minutes or so.  This really helped to fry up the skin and bring about the nice, golden color that everyone loves so much.


2014-06-15 20.04.43


The final product turned out great.  I appear to have toed the line with the brine.  The meat was salty, but didn’t cross the line.  The piggy was served with a southern corn casserole and various salads to keep things healthy.  A simple vinegar based sauce added a touch of outside flavor and really brought the meal together.

2014-06-15 20.44.06


BBQ Sauce

  • 1 cup cider vinegar
  • 1/4 cup brown sugar
  • 1 tsp red pepper flakes
  • 1 tsp cayenne
  • .5 tsp salt
  • .5 tsp pepper

Home Cured Bacon…Breakfast of Champions

9 Mar

It’s such a simple equation.  Pork belly + salt + time = bacon.    Man has been curing meat for preservation purposes for thousands of years, with bacon’s roots going back to the Chinese in 1500 BC.

funny-pig-vegetables-baconBacon

Bacon is one of the easiest of the cured meats to make at home.  Home cured bacon is an entirely different game than the stuff you get from the store.  Industrial bacon is injected with water to speed up the curing process and increase the overall weight of the product.  As a result, your bacon often shrivels up as you cook it and the water evaporates.  By curing the bacon yourself, you’re actually removing some of the water from the pork, giving you a denser product that’s more likely to retain it’s form through cooking.  You also have control over where your meat comes from, so you can pick a better quality cut.

Bacon is awesome.  Here’s how to make yourself:

INGREDIENTS

  • 3-5 lb pork belly (get the good stuff)
  • 1/4 cup kosher salt
  • 2 tsp pink curing salt #1
  • 4 Tbs ground black pepper
  • 4 crumbled bay leaves
  • 1 tsp ground nutmeg (fresh if you can get it)
  • 1/4 cup sugar of choice (I used agave.  Other alternatives are brown sugar, maple syrup, and honey)
  • 5 cloves of garlic, minced

20140309_155402

DIRECTIONS

  1. Trim the pork belly into a nice, even somewhat rectangular shaped piece (or two)
  2. Mix all of the ingredients together and spread evenly over all sides of the pork belly
  3. Stick the pork belly into a 1 or 2 gallon zip lock bag, and toss it in the fridge
  4. Flip the pork belly over every other day to ensure the juices are evenly distributed
    1. Over the course of a week, the salt will pull some of the liquid from the meat.  This is a good thing.  You’ll want to keep as much of this liquid in contact with the meat as possible to keep it curing.  After about a week, press down on the center of the belly.  If it feels firm, the curing process is finished.
  5. Once the bacon has cured, rinse the spices off with cool water and pat dry with a paper towel
  6. Preheat your oven or smoker to 200° and roast until the internal temperature reaches 150° (about an hour and a half)
    1. Fruit woods (apple, cherry, etc.) offer a lighter smoke flavor and are a good choice if you have a smoker
  7. Congrats!  You have successfully turned pork belly into bacon!  It’s almost as magical as making gold out of lead

20140309_15590220140309_160230

Many people are concerned with the presence of the sodium nitrite in their bacon and often buy “uncured” bacon.  This is a clever marketing tool used by different manufacturers to target the natural foods market.  This meat is usually cured with celery salt, which contains high levels of sodium nitrite.  Michael Ruhlman, one of the leading authors on cured meats, has addressed this on his website (http://ruhlman.com/2011/05/the-no-nitrites-added-hoax/)

Smokin’ Fatties with BartCountry and DK

30 Oct

Dave and Dzi were in town this weekend, so it only seemed appropriate to roll and smoke a fatty in honor of our west coast brethren.

Ingredients

  • 2 lbs ground pork
  • 1/2 bag grocery store hash browns
  • 3 scrambled eggs
  • 1/2 onion, diced
  • 1/2 can chili
  • 3 cheddar cheese mix (any kind would work)
To start, I sprayed some canola oil into a one gallon zip lock bag and spread it all around.  Once the bag was good and greased up, the pork was thrown in and spread out into a nice little square.  Using scissors, I cut three sides of the zip lock bag to remove the top layer of plastic.  Cutting only three sides and leaving the plastic underneath proved quite useful when the rolling came around.

Meat Square

Inside this delightful square of meat went the ultimate hangover breakfast concoction.  I cooked up the southern style hash browns (pre-seasoned with spices and jalapenos) in the frying pan and scrambled three eggs.

Meat Square Ingredients

This was stacked atop the meat square along with half a diced onion, some scoops of canned chili (I was lazy and didn’t have the time/energy to make some fresh), and a couple handfulls of cheese.

Too many ingredients!

I completely disregarded the quantities given to me by the recipe, so I was worried that I may have overstuffed my fatty.  DK suggested smushing it all around and evening out the pile.  This helped even out the ingredients and put us in an environment to attempt to to roll the bad boy up.

Rolling the fatty was a three-man operation.  We folded the corners up and used the remaining hands to start pinching the meat together.

Fiji's Rolling a Fatty

Many BBQ sites recommend wrapping the fatty in plastic wrap and tossing it into the freezer at this point to help the roll keep form.  Being lazy, we just tossed it straight on the smoker.

The smoker was set up for high temperature smoking.  This means no water pan and a drip pan under the meat.  I threw three chunks of cherry wood in the fire and let it run at around 360 degrees.  As the drip pan fills with grease, it makes a delicious sounding crackling noise.  Cold wind, rain, and a terrible Bengals/Seahawks football game kept us from hanging out near the smoker for very long.  Two hours later we checked the meat and pulled the fatty off.

Blowout! Exploding Fatty!

Unfortunately we lost structural integrity and our fatty exploded.  The middle sections ended up a little dryer as a result.  Aside from the dry factor, the fatty was a killer success and will definitely be repeated.

Fatties can be made with all sorts of stuffed interiors.  I recently read about one that was stuffed with blueberry muffins and maple syrup.  Might even add a bacon lattice to reinforce the meat walls.  Let the ridiculous smoker projects begin!

Ribfest 2k11

17 Oct

I’ve dropped the ball on updating the blog on the recent projects.  Many pork butts have gone through the WSM in recent weeks, along with a beef chuck roll.  I could make up some story about how busy I am (probably busy eating delicious BBQ), but I’ve just been lazy.  That being said, BartCountry and I were inspired to fire it up and cook some ribs last Saturday for the NU/Iowa night game.

Naturally ribs attract a crowd, so I ended up purchasing 10 racks of ribs at Costco (6 baby back, 4 spare).

With ten racks of ribs, there’s absolutely no reason to only settle for one rub.  Unfortunately we were short on time though, and only were able to prepare two different styles.

For our first rub we used BartCountry’s standard Weber rub that he uses on most of his pork products.  We had some of this conveniently leftover from last weekend’s pulled pork extravaganza, so it took no time to get everything prepared.

Weber Dry Rub (BartCountry Special)

  • 1teaspoon paprika
  • 1teaspoon dark brown sugar
  • 1teaspoon kosher salt
  • 1/2teaspoon pure chile powder
  • 1/2teaspoon ground black pepper
  • 1/4teaspoon ground allspice

Weber Dry Rub

We applied the rub liberally without any sort of oil or mustard to help it stick.  Two racks were left full-size while the rest were cut in half.
The second recipe we pulled off of the Virtual Weber Bullet website.  It is entitled the “Best Ribs in the Universe”, so we figured it was worthy of an attempt.
Best Ribs in the Universe
  • 1/4 cup sugar
  • 1/4 cup kosher salt
  • 1/8 cup brown sugar
  • 4 tsp chili powder
  • 2tsp ground cumin
  • 1 tsp cayenne pepper
  • 1 tsp ground black pepper
  • 1 tsp granulated garlic
  • 1 tsp onion powder
The recipe also called for MSG which we couldn’t find at Whole Foods, so we left out.  Reviews of this recipe said that the salt can be a little overpowering, so we followed the directions exactly and simply “dusted” the meat.  You can barely see the rub in the pictures, but it is there.

The bamboo skewers were used to keep the ribs from rubbing one another

Ribs went on at either 9:30 or 10:00 in the morning (I can’t remember exactly when) and the smoker was reading 190 at the time.  I went out for a run at this point, trusting that opening the vents would push the temperature up and get into the sweet zone.  I missed the next three or so hours of smoking, but BartCountry said he was having trouble maintaining temperature in the wind.  When I returned, we tried adding more coals, opening the vents entirely, and building crafty barriers to shelter the smoker.  None of this really worked, so we ended up finishing the last 45 minutes or so in the oven.  Ribs came out of the oven just before 4:00 in the afternoon.

Cheating to finish the ribs...shhh...don't tell!

Final product turned out FANTASTIC.  The Best Ribs in the Universe Recipe was definitely the favorite.  Something about the sugar layered underneath the BBQ sauce was a match made in heaven.  The apple wood added a smokey flavor that was present, but not overpowering.

Weber Dry Rub - Final Product

BBQ Sauce on the Best Ribs in the Universe

Side dishes were macaroni casserole and spicy cornbread.  Cornbread had jalapenos and pepperjack baked in.  #winning

Plate of Champions

Now if only the ‘Cats played as well as the ribs tasted…